The $8 Raspberry Pi Pico W is a marvelous little board. During the global chip supply shortage it plugged a rather large Raspberry Pi shaped hole in the Raspberry Pi inventory and provided makers with a low cost, easy to use IoT (Internet of Things) platform. Sure it's not the first Internet connected microcontroller (we can discuss that honor in the comments) but for many Raspberry Pi fans it was their first step into the wonderful world of microcontrollers.
Whereas the Raspberry Pi runs a full Linux OS, the Raspberry Pi Pico W relies on firmware to provide a layer on which we can write our code. MicroPython is one of the officially supported languages, and it has seen many improvements to accommodate the Raspberry Pi Pico. One improvement was the inclusion of urequests (micro requests) which enables our Pico W to send and receive HTTP requests.
In this how to, we are going to use urequests along with ntfy.sh, a free service and app for Android and Apple devices that can intercept messages from IoT devices and display them on your device. We are going to use it to send alerts to our Android cell phone, alerts that are triggered by a PIR (Passive Infrared) sensor that detects movement in a room.
Ntfy.sh is a remarkably effective and simple service. Instead of installing a specific Python / MicroPython module, it works with requests to send messages from the Raspberry Pi Pico W using a specific topic (very similar to how MQTT works). Our Android / iOS device is subscribed to this topic and receives the notifications from the Pico W.
We are limited to sending text on the Raspberry Pi Pico W, but this project can also be used with Raspberry Pi SBCs and the official Raspberry Pi camera to send images (or any other form of attachment) when an event happens. Say if a bird is feeding from your bird feeder or somebody is in your back garden. For an example on how to use images with ntfy.sh, take a look at our how to use dictionaries tutorial.
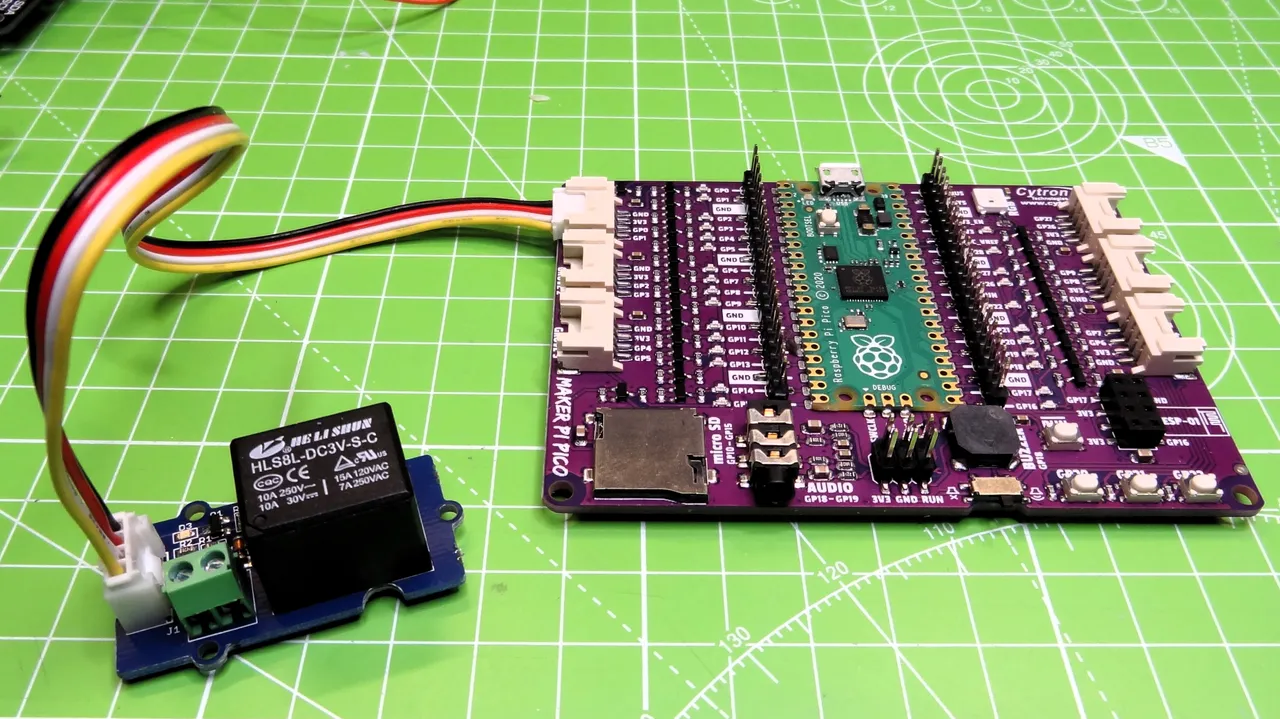
Building the Circuit

The circuit for this project is incredibly simple, on purpose. There are only three connections between the PIR sensor and the Raspberry Pi Pico.
| Wire Color | Raspberry Pi Pico | PIR |
| Red | 5V (VBUS) | VCC |
| Yellow | GPIO 16 | OUT |
| Black | GND | GND |
Connect the wires between the Pico and the PIR sensor before moving on.
Coding the Project
1. Install ntfy.sh for your Android / iOS device.
2. Open the app and click on + to create a new subscription.

3. Create a new topic and click Subscribe. We chose to use th-test. Create a topic that is personal to you. Also note that topics may not be password protected, so do not send sensitive data.

4. Leave the app open on your device.
Now we move to coding the Raspberry Pi Pico W.
5. Follow these steps to download the latest version of MicroPython for the Raspberry Pi Pico W. The most important steps are to download and install the UF2 firmware image and to set up Thonny. The rest are optional.
6. Open Thonny and click on the Stop button to refresh the connection. This ensures that the Python Shell is open and working correctly.
7. Create a new blank file.
8. Import the network module and then import urequests, renaming it to requests. The network module enables our Pico W to connect to the internet. Urequests is a MicroPython version of Python’s requests module which we will use to send a message from the Pico W. Urequests is now pre-installed on the latest UF2 firmware release.
import network
import urequests as requests
9. Import the sleep function from time, and Pin from machine. The sleep function will be used to add a pause to the project code. The machine module contains functions and classes that enable our code to control and read GPIO pins.
from time import sleep
from machine import Pin
10. Create an object, pir, and use it to create a connection to the PIR output pin at GPIO 16. The pin needs to be set as an input, and we should pull the GPIO pin high (3V) so that when the PIR is triggered, the signal will pull the pin low.
pir = Pin(16, Pin.IN, Pin.PULL_UP)11. Create an object, wlan to represent the Wi-Fi connection, then turn the Wi-Fi on and connect to your Wi-Fi access point.
wlan = network.WLAN(network.STA_IF)
wlan.active(True)
wlan.connect("YOUR SSID","YOUR PASSWORD")
12. Add a three second delay after making the Wi-Fi connection. This isn’t strictly necessary, the connection process is a “blocker” meaning that it has to complete before it can move to this line. But we have had better luck connecting when there is a pause, than without.
sleep(3)13. Print the Wi-Fi connection status. True means we are connected, False means we are not.
print(wlan.isconnected())14. Create a while True loop and use it to print the current status of the PIR GPIO pin. We set the pin to be high (pulled up) in our code, so the value should be 1.
while True:
   print(pir.value())
15. Create a conditional statement that checks if the PIR sensor has been triggered.Triggering the sensor will force the GPIO pin connected to the sensor output pin to pull low (0) and our code is looking for this change.
if pir.value() == 0:16. Use requests to post a message to ntfy. Note that we need to specify the topic name, in our case https://ntfy.sh/th-test, as part of the function’s argument. The next argument, data is the message the user will see.
       requests.post("https://ntfy.sh/th-test",
                     data="Movement detected by sensor",
17. Inside the request specify “headers” that include a title for the notification. A priority (5 being the highest priority) and tags, which are used to add a rotating light emoji.
                     headers={
                         "Title": "ALERT: MOVEMENT DETECTED",
                         "Priority": "5",
                         "Tags": "rotating_light",
                         })
18. Print a message to the Python shell. This is purely for debug purposes.
print("Movement detected, notification sent")19. Add an else condition that simply uses pass to let the code loop.
   else:
       pass
20. Add a delay to the code, inside the while True loop, but outside of the conditional tests. This delay can be 10 seconds, or hours. It all depends on how often you want to be alerted.
sleep(10)21. Save the code to the Raspberry Pi Pico as alarm.py and click Run to start. If you want this code to automatically run when the Pico W powers up, save the file as main.py. MicroPython is configured to run main.py whenever the board is powered up.
22. Place your hand in front of the sensor to trigger the alert.

23. Your Android / iOS device will receive a notification.

Complete Code Listing
import network
import urequests as requests
from time import sleep
from machine import Pin
pir = Pin(16, Pin.IN, Pin.PULL_UP)
wlan = network.WLAN(network.STA_IF)
wlan.active(True)
wlan.connect("YOUR SSID","YOUR PASSWORD")
sleep(3)
print(wlan.isconnected())
while True:
   print(pir.value())
   if pir.value() == 0:
       requests.post("https://ntfy.sh/th-test",
                     data="Movement detected by sensor",
                     headers={
                         "Title": "ALERT: MOVEMENT DETECTED",
                         "Priority": "5",
                         "Tags": "rotating_light",
                         })
       print("Movement detected, notification sent")
   else:
       pass
sleep(10)
More Tutorials